

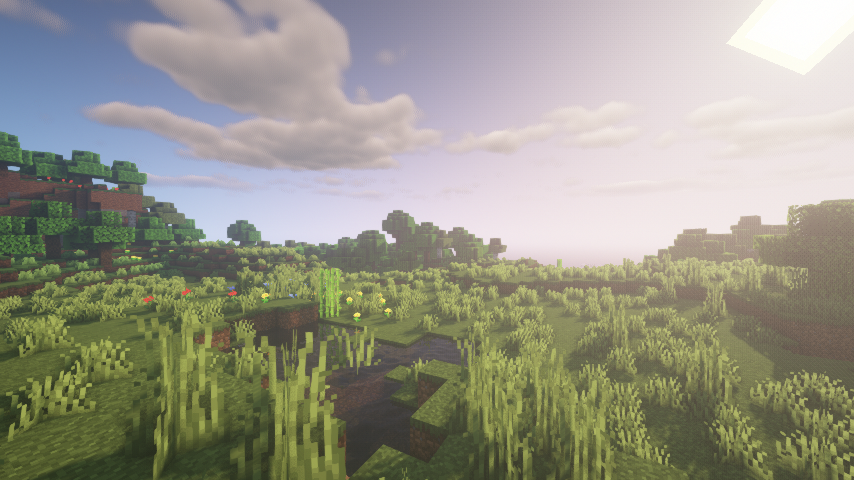
The procedural terrain generation in Minecraft produces stunning results, and the worlds it creates have captivated millions. Underneath the hood, it's actually a fairly straightforward algorithm driving all the complexity and variation in Minecraft's infinite worlds. In this post I'm going to break down how one important stage in Minecraft's terrain generation works.
Broadly, generating terrain in Minecraft happens in five stages: first, a biome map is generated. Then, chunk-by-chunk, the sky is divided from the earth. Third, the stone surface is replaced with dirt. Fourth, caves and canyons are carved. And finally, ore is planted and trees and grass spring forth.
Each of these stages would take an entire blog post to describe. In this post I specifically want to describe the first step after biomes are generated—the stage I've called "noise" above. The noise stage is when Minecraft decides which blocks are solid and which are air. The other parts of the process are interesting too, but I'm trying to create a Minecraft world type which has a lot of floating islands above an ocean, so I really want to understand how to manipulate the way the algorithm places solid blocks.
In Minecraft 1.16, there's a new (still experimental) way to tweak the terrain generation parameters using a data pack. In 1.12, most of these parameters were tweakable by creating a "custom" world, but 1.16 gives much finer control, which is super exciting. You can see the vanilla worldgen parameters for 1.16 on slicedlime's GitHub page (or unpacked for your viewing pleasure here). The bits that affect the "noise" step are under worldgen/noise_settings, one file per noise preset type.
Here's an example from the vanilla Overworld settings. The noise settings also include information about structures, which I'm not diving into in this post, so here are just the bits that are relevant for the noise step:
{
  "noise": {
    "height": 256,
    "size_horizontal": 1,
    "size_vertical": 2,

    "sampling": {
      "xz_scale": 0.9999999814507745,
      "y_scale": 0.9999999814507745,
      "xz_factor": 80.0,
      "y_factor": 160.0
    },

    "density_factor": 1.0,
    "density_offset": -0.46875,
    "random_density_offset": true,

    "bottom_slide": {
      "target": -30,
      "size": 0,
      "offset": 0
    },
    "top_slide": {
      "target": -10,
      "size": 3,
      "offset": 0
    }
  },
  ...
}
I'm going to explain how each of these parameters affects the way the terrain is generated. These parameters only affect how Minecraft chooses which blocks are solid and which are not-solid (i.e. air, or water if below sea level). They don't affect which blocks are placed in the world in the end—initially, all the solid blocks are set to stone.
The noise step happens on a chunk-by-chunk basis, where each chunk (16x16 block column) is generated separately. The edges still line up, even though the chunks are generated separately, because Minecraft uses simplex noise. More on that later.
When deciding which blocks in a chunk should be solid and which should be non-solid, Minecraft first is generates a noise pattern, where it gets all the randomness. Then it modifies the noise values to make the sky mostly empty and the ground mostly solid, and also to vary the height according to the biome, as well as gracefully forcing the very top blocks in the world to be empty, and the very bottom blocks to be solid. Happily, all these steps are very configurable in Minecraft 1.16!
Noise sampling
Relevant parameters: xz_scale, y_scale, xz_factor, y_factor, size_horizontal, size_vertical.
Simplex noise, octaves, and range noise
Minecraft uses 3D simplex noise to generate its terrain. Simplex noise is an algorithm which lets you sample a smoothly-changing random value anywhere in space, without having to pre-generate anything. It's useful for Minecraft particularly because of its ability to continue infinitely in all directions. Minecraft uses simplex noise in a very particular and somewhat unusual way.
First, it uses 16 octaves of noise. This isn't the unusual part. "Octaves" is a fancy word meaning it generates many different simplex noise fields at different scales and adds them together.

Second, it uses three sets of octaves. That's three separate noise fields, each composed of 16 octaves, that get combined together to produce a final field. Two of those fields define a "lower" and "upper" value at each point in space, and the third field defines a sliding value within that range. This is the bit that's unusual. I'm not sure it has a name, but I call it range noise.
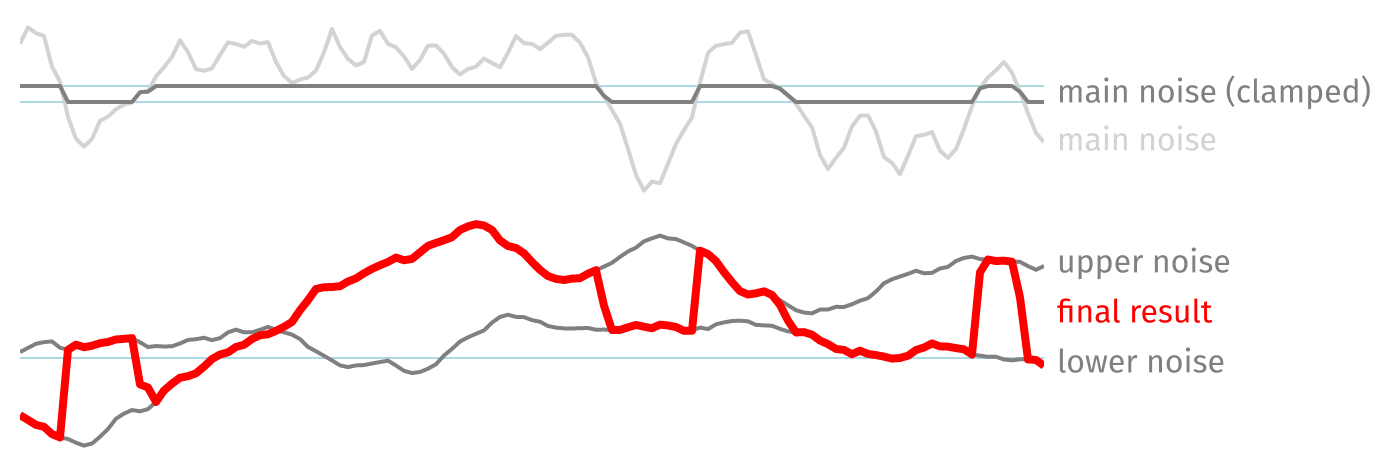
Range noise creates a sort of "punctuated equilibrium", areas of smooth slow change interrupted occasionally by dramatic shifts. It helps the terrain to look more interesting and dynamic than just using plain simplex noise.
Subsampling
Ultimately, all these noise calculations define a density grid. The density grid is a 16⨉16⨉256 3D grid which has a number for each block in the chunk. If that number is positive, the block will be set as solid. If the number is negative, the block will be set as air (or water if it's below sea level). Each block in the density grid is filled with a number by sampling a value from the noise generator at the (x, y, z) coordinate of the block. The way simplex noise works is that if you sample the same (x, y, z) coordinate multiple times you'll always get the same number back. That's why chunks can be generated independently of one another.
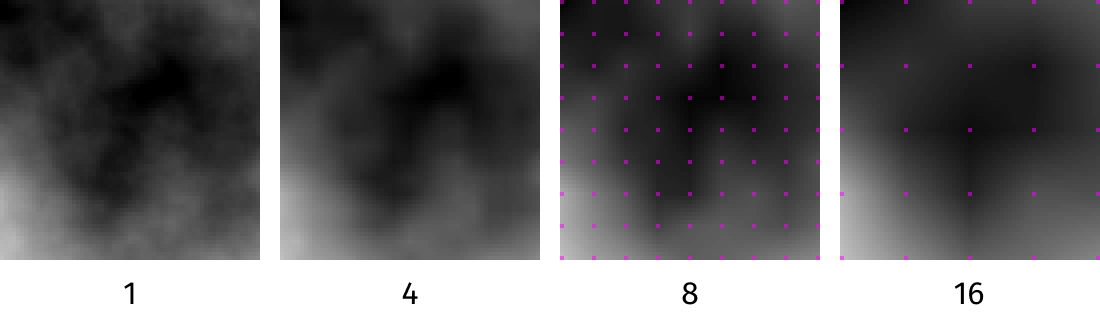
Actually, I lied a bit—the size of the density grid is smaller than 16⨉16⨉256. To reduce the number of noise calculations that need to be done, Minecraft generates the density grid at a smaller size, then blows it up. Imagine generating a small 2D image and then resizing it to be bigger. That's what the size_horizontal and size_vertical parameters do, but in 3D. The name "size" is a bit misleading though, as increasing these parameters actually makes the density grid smaller. For instance, if the height is 256, and the size_vertical parameter is 2, then the density grid will be 128 blocks tall. Well, actually, I lied again—internally, Minecraft multiplies both of these size parameters by 4, so the density grid would be 64 blocks tall in this case. These parameters can be set to 1, 2 or 4. With the internal multiplication, that means the possible values are 4, 8 or 16. Technically you can also set it to 3, but that results in odd glitchy terrain because 12 doesn't evenly divide 16.
Scale and factor
The xz_scale, y_scale, xz_factor and y_factor parameters control how the simplex noise is sampled. These parameters can have a huge effect on how the generated landscape feels. The scale parameters control the upper and lower boundary noise fields in the range noise, while the factor parameters control the "main" noise which controls the crossfade between the upper and lower noise fields. All these parameters affect "zoomed out" the noise is.
For xz_scale and y_scale, which control the two boundaries of the range noise, a higher value means a more "zoomed out" noise—the landscape will be fuzzier, and features like mountains and valleys will be smaller. A lower value means a more "zoomed in" noise—the landscape will be smoother, and features will be larger. The parameters which control the main noise (which controls the crossfade between the two boundaries) xz_factor and y_factor are inverted, so higher values mean more zoomed in, smoother variation and lower values mean more zoomed out, fuzzy noise.
The vanilla overworld uses scale values very close to 1 for both xz_scale and y_scale, so using values higher than 1 means your world will be fuzzier than the vanilla overworld, and using values lower than 1 means your world will be smoother than the vanilla overworld. The range for all these parameters is between 0.001 and 1000.
Density modification
Relevant parameters: density_factor, density_offset.
Density factor and offset
Before the density grid gets turned into blocks, it's modified by two parameters: the density factor and the density offset. These modifiers are applied after the density grid is generated from the simplex noise field. This step is also where biome-based height variation happens—this is where mountains are made.
The density factor is what divides vertical space into "land" and "sky". It skews the density grid positive (solid) towards y=0 and negative (air) towards y=256. The density factor is a multiplier on this skew. So a density factor of 0.0 means no skewing is done at all and there's no division between land and sky—the Nether, for example, uses a density factor of 0.0. A density factor greater than 0 will skew the density grid towards solid below halfway up the chunk, and towards air above halfway up the chunk. This is what the overworld does—solid blocks go at the bottom, air goes at the top. A negative density factor would invert that, skewing the lower half of the chunk towards air and the upper half of the chunk towards solid.
The density offset is a flat value that gets added to all densities in the field. A higher density offset will make every block more likely to be solid. A lower (or negative) density offset will make every block more likely to be air. This has the effect of raising or lowering the average height of the land (assuming the density factor is positive), so a higher density offset will get you mountains or plateaus.
Slides
Relevant parameters: top_slide, bottom_slide.
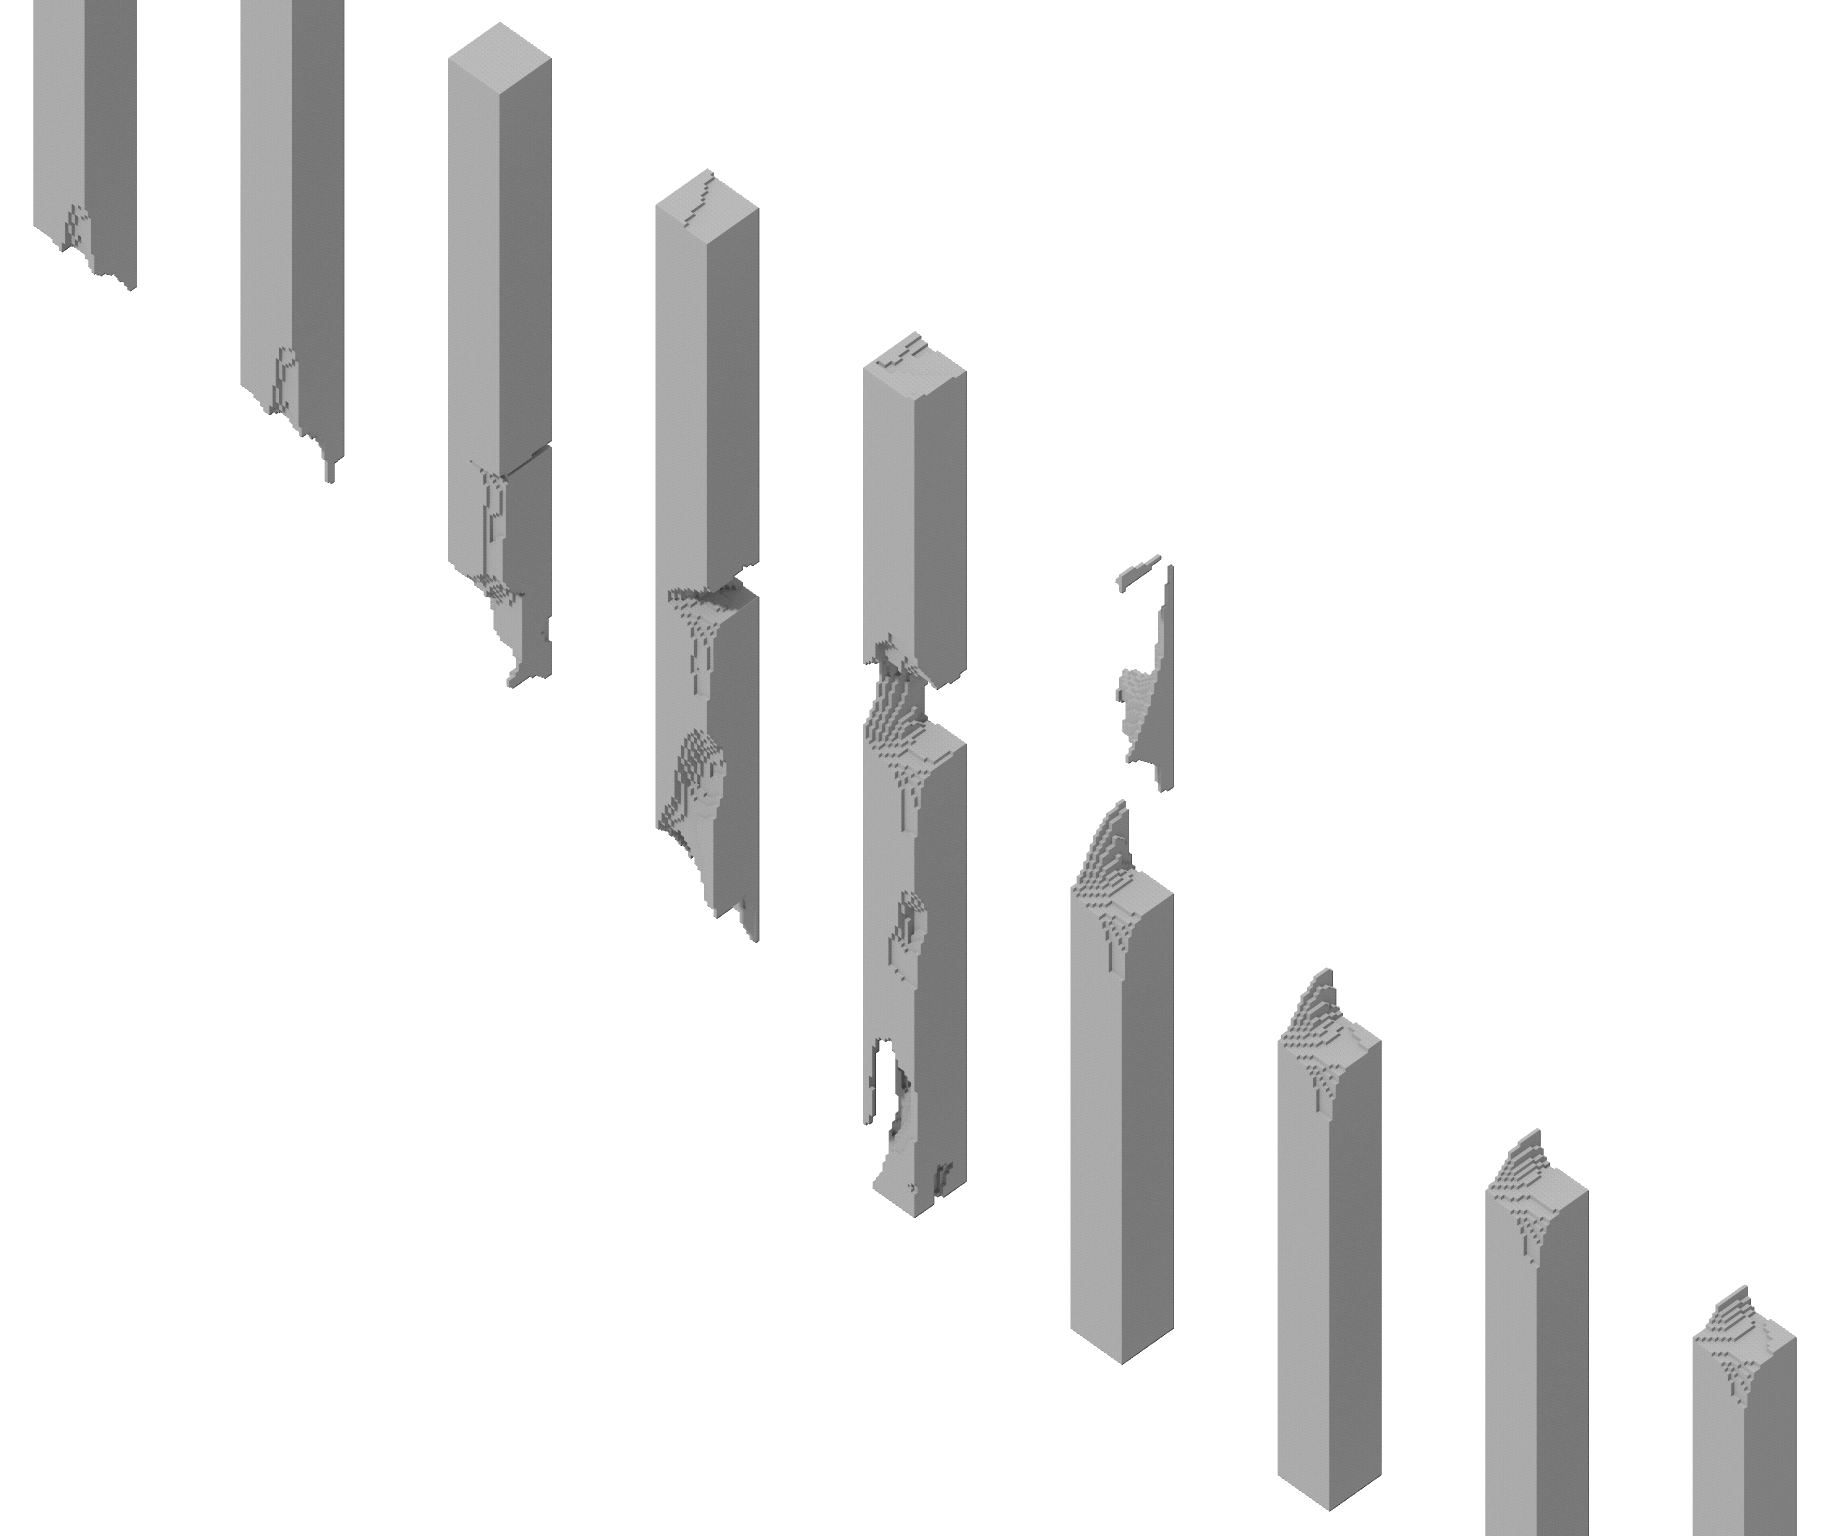
The last step that happens before turning the density grid into solid blocks is applying the slides. There are two slides: the top slide and the bottom slide. They do the same thing, but one is applied at the top of the chunk and the other at the bottom.
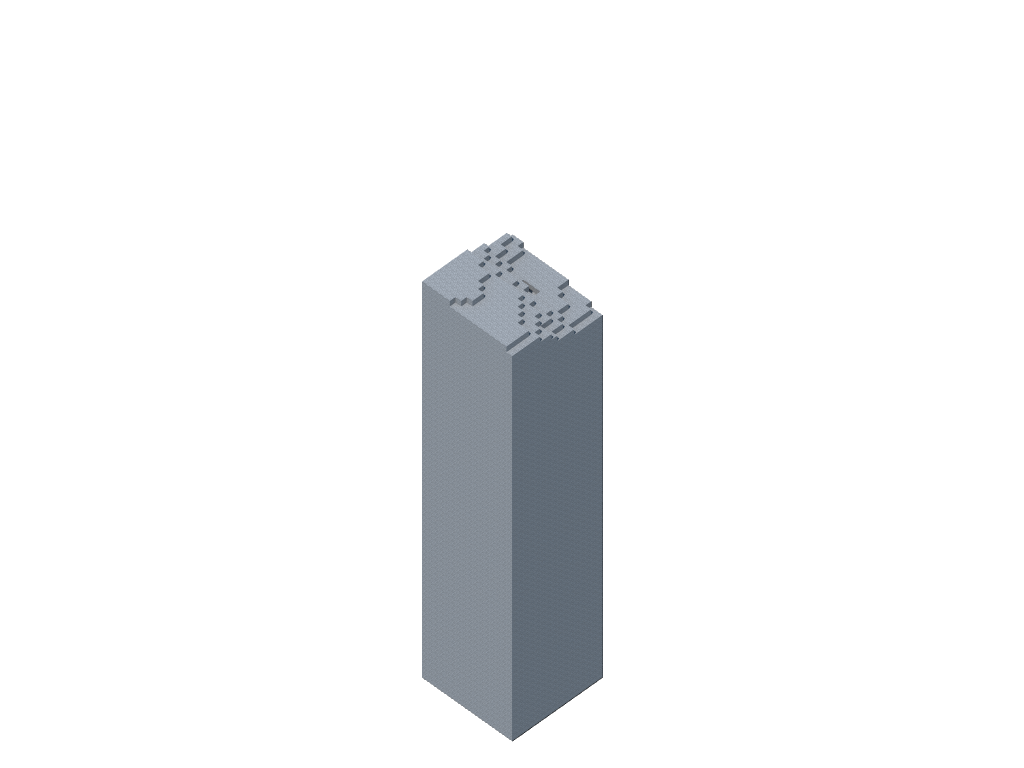
The slides force the value of the density grid towards a certain desired target value the closer to the end of the range it gets. So, for example, for a top slide target value of –30, as you get closer to the top of the chunk, the density would be pushed closer and closer to –30 until at the very top the value of the density grid is forced to be –30 (i.e. air).
There's plenty more to Minecraft terrain generation—I didn't cover caves, or biome placement, or decorations—but if you're interested in playing around with how the base land is generated, I hope this post helped you understand the underlying systems!